FAQs
How to Install a Dash Cam Without Professional Help
Whether you have a front-facing dash cam or a dual-channel system, this guide will walk you through the installation process step by step.
How to Install a Dash Cam Without Professional Help
Installing a dash cam doesn't have to be complicated or expensive. With a few basic tools and some simple instructions, most drivers can install a dash camera themselves without visiting a professional installer. Whether you have a front-facing dash cam or a dual-channel system, this guide will walk you through the installation process step by step.
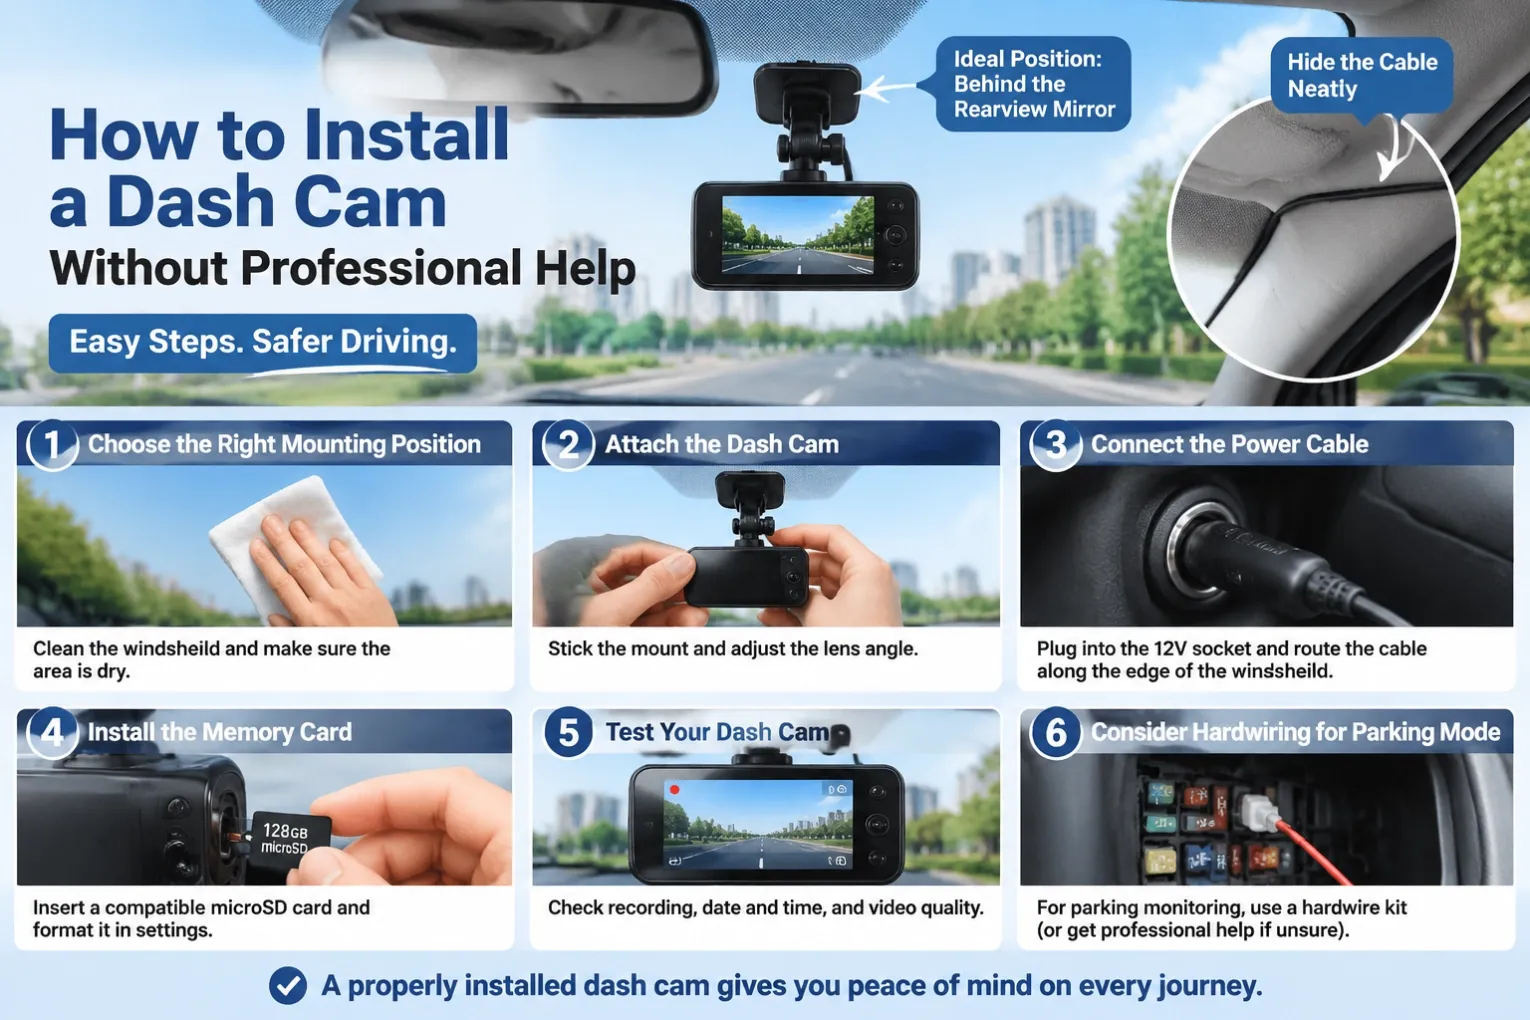
1. Choose the Right Mounting Position
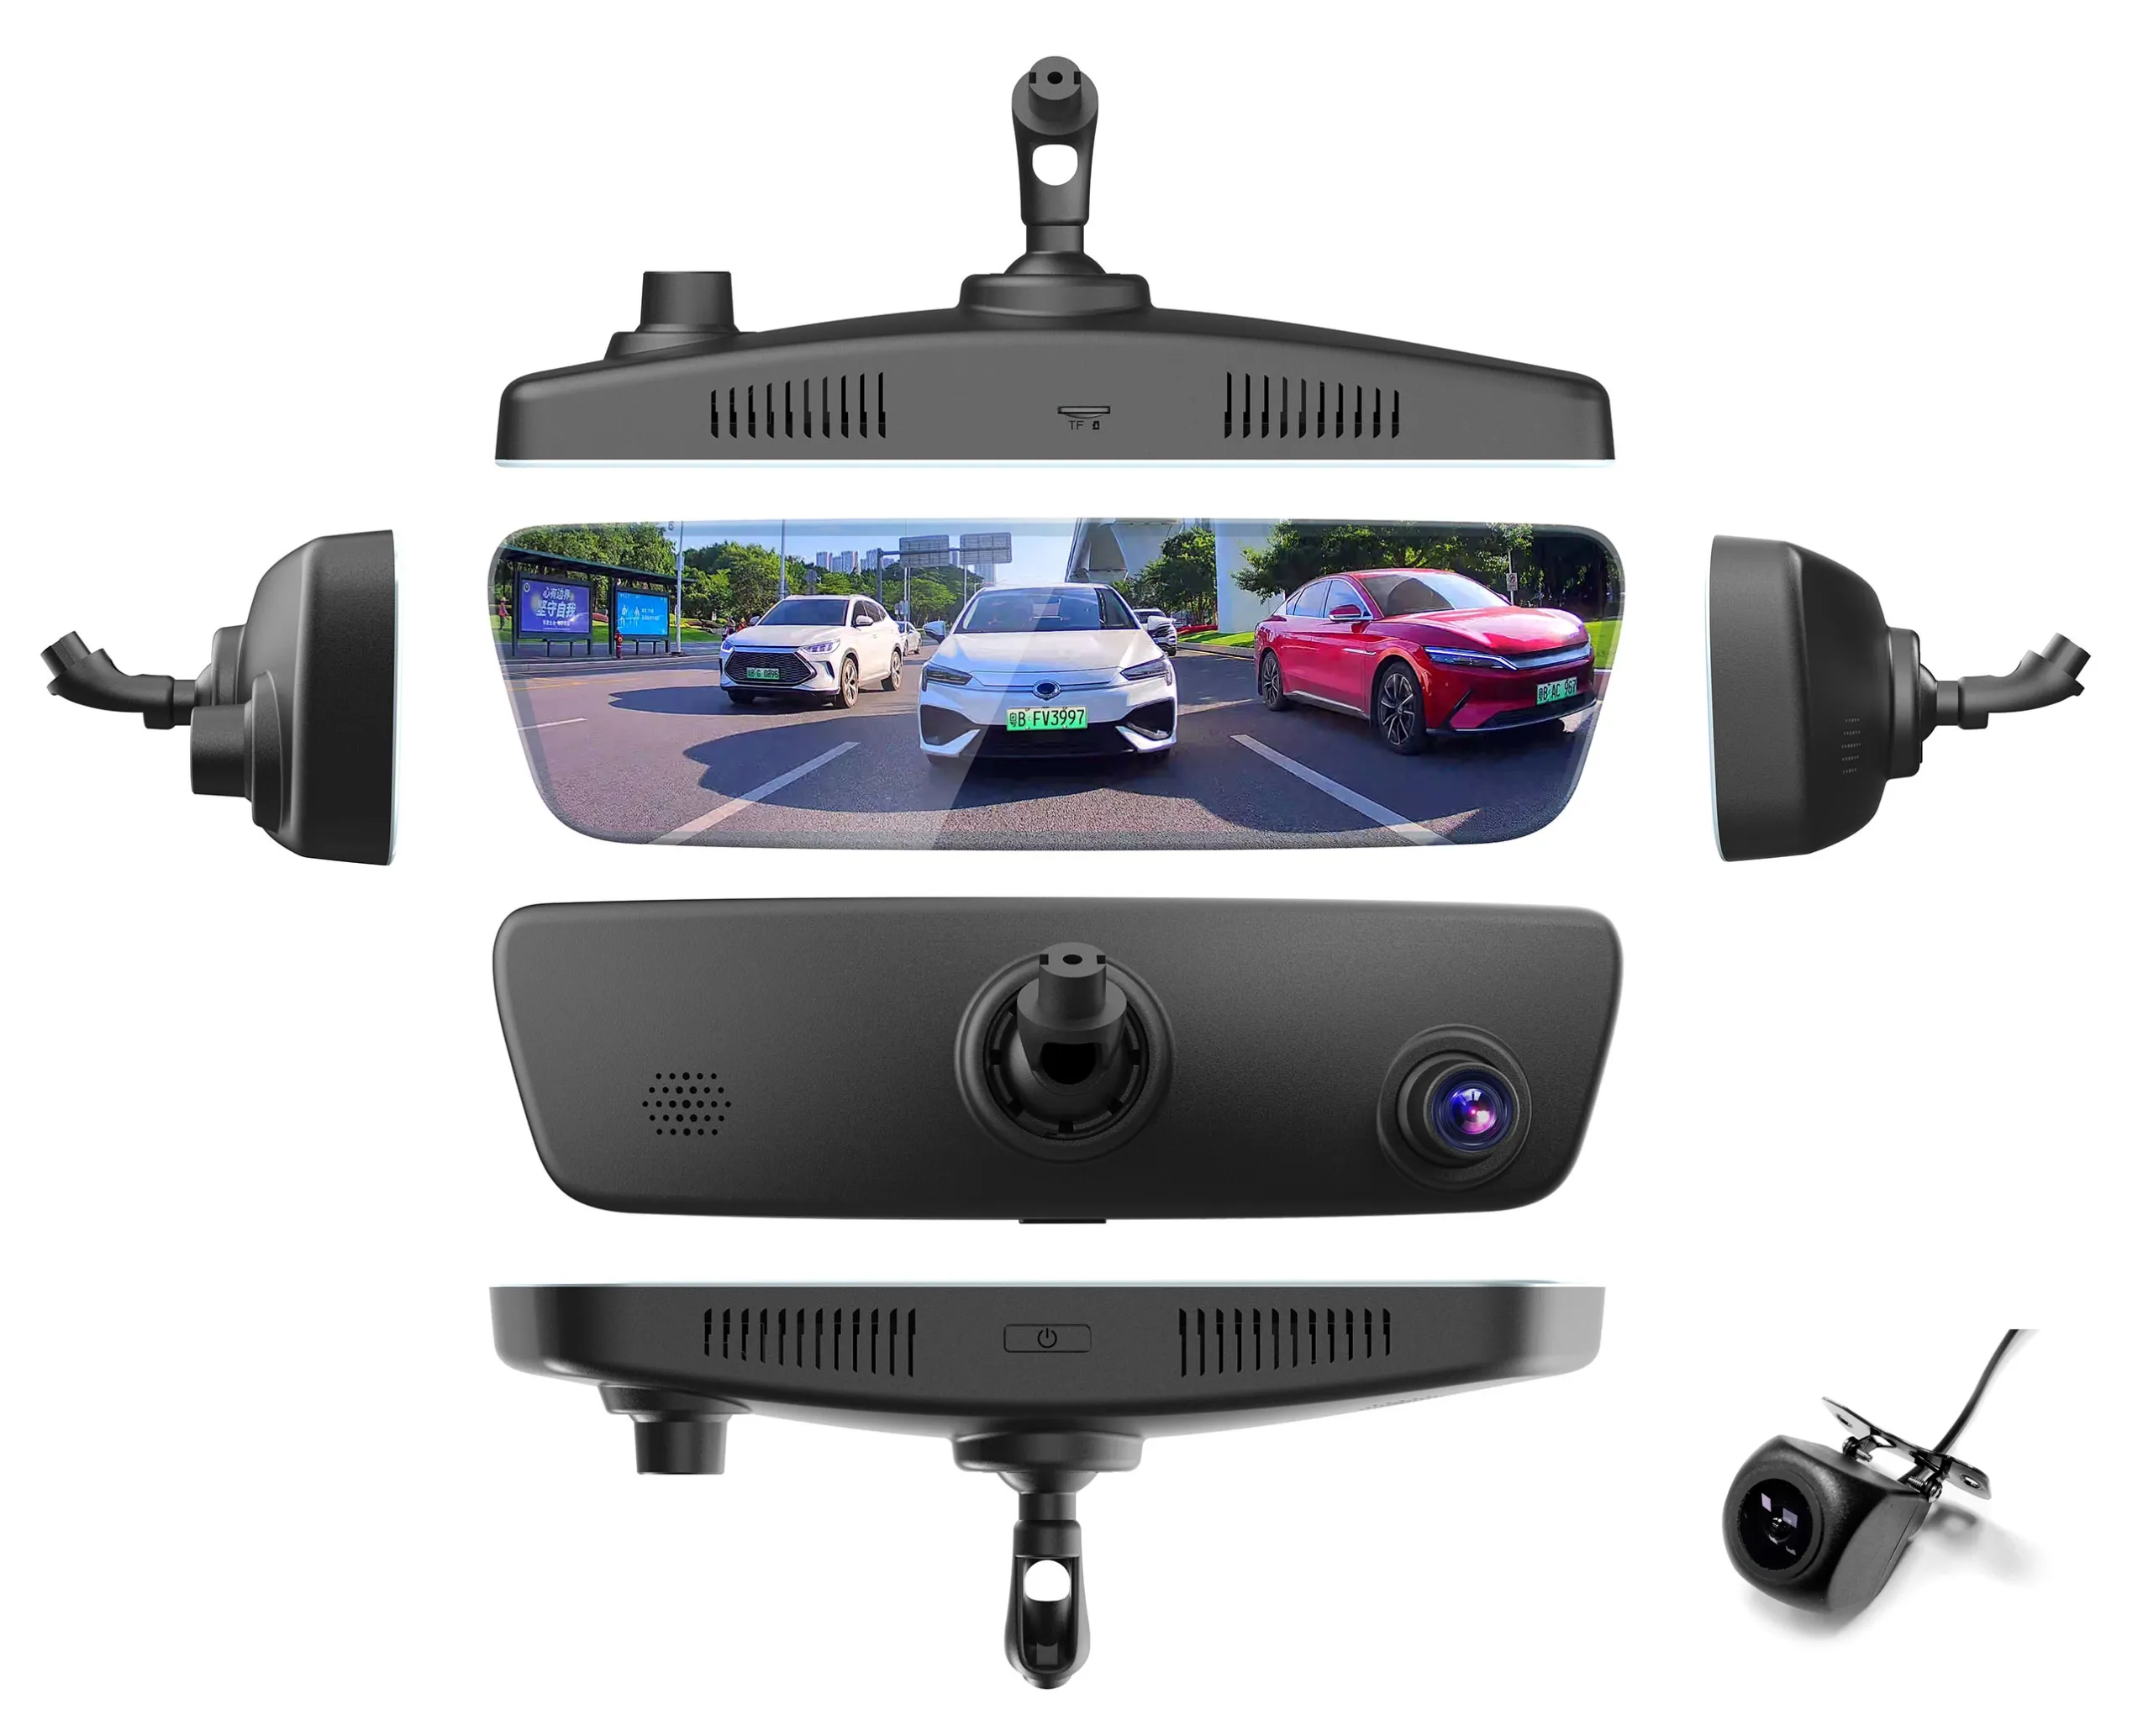
The first step is finding the best location for your dash cam. Ideally, mount it behind the rearview mirror, where it won't obstruct your view of the road. Make sure the camera lens has a clear view through the windshield.
Before attaching the mount, clean the windshield with an alcohol wipe and allow it to dry. A clean surface helps the adhesive stick firmly and prevents the camera from falling off.
2. Attach the Dash Cam
Most dash cameras come with either an adhesive mount or a suction cup mount. Follow the manufacturer's instructions to secure the mounting bracket.
Once attached, connect the camera and adjust the lens angle. The camera should capture the road ahead, including the horizon and enough of the vehicle's surroundings. Avoid pointing it too high toward the sky or too low toward the dashboard.
3. Connect the Power Cable
Most dash cams use a 12V car power adapter that plugs into the cigarette lighter socket. Connect the power cable and route it along the edge of the windshield, then tuck it into the headliner and down the side of the dashboard.
Use cable clips or a plastic trim tool to keep the wiring neat. Avoid routing cables near airbags or interfering with vehicle safety systems.
4. Install the Memory Card
Insert a compatible microSD card into the dash cam. Check the manufacturer's recommended storage capacity and speed requirements.
Before your first drive, format the memory card through the camera's settings. This ensures the card is ready for continuous video recording.
5. Test Your Dash Cam
Start your vehicle and check whether the dash cam powers on automatically. Make sure it records properly, the date and time are correct, and the video quality meets your expectations.
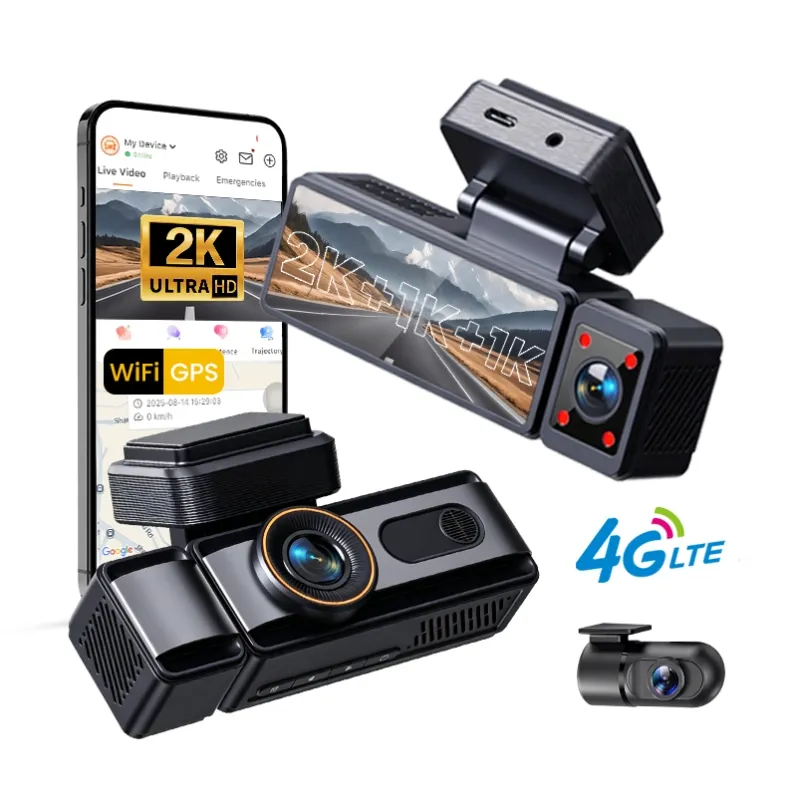
If your camera supports Wi-Fi or a mobile app, connect your smartphone to check live footage and playback recordings.
6. Consider Hardwiring for Parking Mode
If you want your dash cam to monitor your vehicle while parked, you may need a hardwire kit. This connects the camera to the vehicle's fuse box and typically requires more electrical knowledge.
If you are unfamiliar with vehicle wiring, professional installation is recommended to avoid damaging electrical components or affecting your vehicle's battery.
Final Thoughts
Installing a dash cam yourself is a straightforward way to improve driving safety and protect yourself with reliable video evidence. By choosing the right mounting position, organizing cables properly, and testing the camera before driving, you can complete most basic installations in less than an hour.
A properly installed dash cam provides peace of mind on every journey, helping you capture important moments on the road.